
How to mount Linux partition in Windows
This is fairly easy with Ext2Fsd, 1st go to its site and download the latest version, at the time of writing latest version is 0.50.
Let’s go through this step by step.
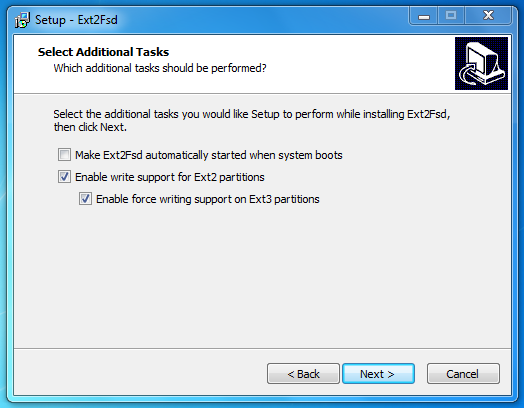
1- After download install the software, during installation you will see this screen for advanced features like write to Linux partition in windows, auto start etc. Choose the options better suits you.
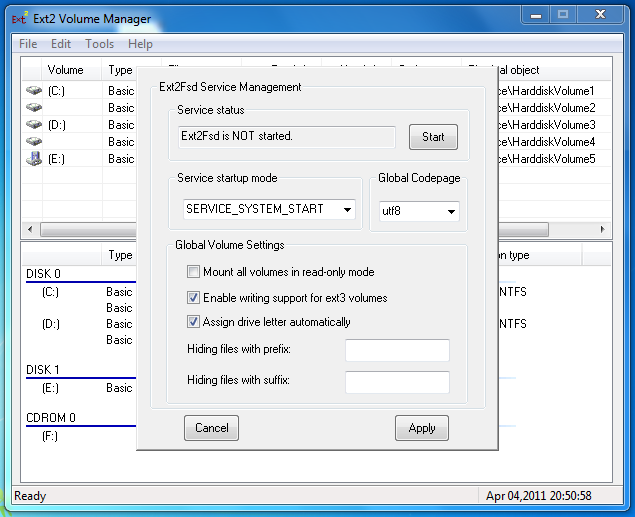
2- After installation, start the application from the start button at the left corner. We need to start the service 1st. Click on the Tools in the menu and select Service Management and hit the Start button as shown in the image below.
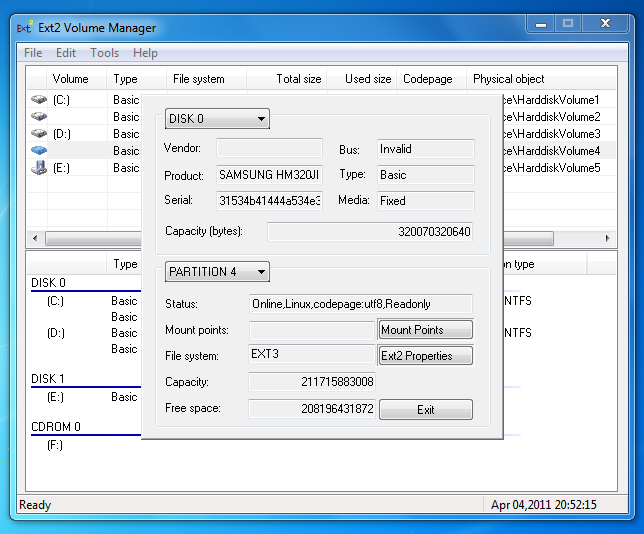
3- Now we can mount our Linux drives successfully. Choose the Linux drive which you want to mount, select it and right click on it and select Show Properties. As you can see in the image below, there is a Mount Points button. Click on it and choose the drive letter to your well and save it.
4- We are done, wait a while for the drive to be mounted. Open the explorer(My Computer) and you will see the drive you just mounted with Ext2Fsd.

I mounted my backup drive as G. You can see it from the above image. Just to update you more, my Linux drives are formatted as Ext4. So i can confirm that Ext2Fsd can mount Ext4 too.
And that’s it. Enjoy mounting. 🙂